


Call +(0)85 060 3628 Direct answer
Your cart

Guaranteed Secure Payment
Guaranteed Secure Payment


Written by Lucas Punte
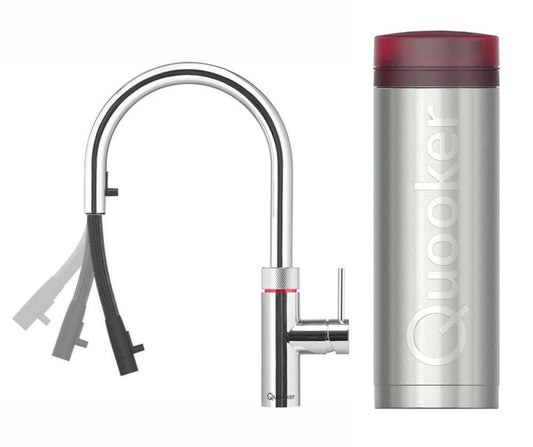
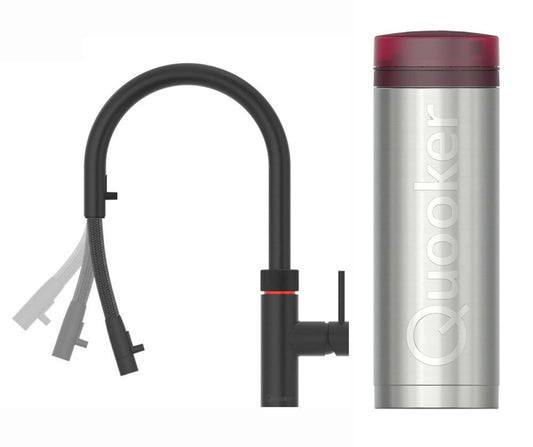
Thinking of upgrading your kitchen with a Quooker tap? You're not alone. With its ability to dispense instant boiling, hot, cold, and even sparkling water, the Quooker is becoming a must-have for modern homes. But before you schedule your installation, it's essential to make sure your kitchen is Quooker-ready.
This guide offers a complete pre-installation checklist to ensure your setup is smooth, efficient, and stress-free.

The Quooker tank is compact, but it still requires adequate space under your sink. Depending on the model (COMBI, PRO3, or with the CUBE add-on), you’ll need room for the tank itself and possibly a CO₂ cylinder for sparkling water.
Make sure there’s enough clearance around the tank for proper ventilation, easy access to the plug, and routine maintenance. If your under-sink cabinet is already crowded, consider reorganizing or removing unnecessary items.

Unlike a traditional tap, the Quooker system requires electricity to maintain its boiling water function. A standard 230V grounded outlet is necessary within reach of the tank. If you don’t have one available near the sink, you may need an electrician to install one before setup.
Power access is especially important for models with additional features like chilled or sparkling water.

Your Quooker needs a cold water supply to operate. For models like the Quooker COMBI, a hot water connection isn’t required since it produces both hot and boiling water from the cold supply. However, if you’re installing a model that uses your existing hot water line, make sure the pipes are accessible and in good condition.

Quooker systems perform best when connected to mains pressure water supply. Check that your home’s water pressure is within the recommended range (typically between 2–8 bar). Low pressure can affect the tap’s performance, especially when using the CUBE for chilled or sparkling water.
If you're unsure, a quick pressure test can be done by a plumber.

Quooker tanks generate heat and moisture, so it’s important that the cabinet allows for some air circulation. Avoid tightly sealing the space, and don’t stack items directly on top of the tank.
Additionally, you should plan for future maintenance. Periodic descaling is necessary in hard water areas, so you’ll want to make sure the tank is easily accessible when it's time to perform cleaning or servicing.

If you plan to add the Quooker CUBE (for chilled and sparkling water), you'll need space for a CO₂ cylinder and the chiller unit. This can affect your layout and space requirements.
Also, consider whether you want to include a water filter. Some models come with integrated filtration, while others require an add-on.

Once your kitchen is prepped, it’s time to bring in a certified Quooker installer. While Quooker installation is generally straightforward, using a trained technician ensures that everything is installed to manufacturer standards and preserves your product warranty.
They can also advise on setup adjustments, filter installation, and ongoing maintenance schedules.

Installing a Quooker is one of the best ways to boost your kitchen’s functionality, efficiency, and modern appeal. But a successful installation starts with proper preparation.
By using this pre-installation checklist, you’ll ensure your kitchen is ready for the upgrade—and you’ll enjoy all the benefits of boiling, hot, cold, and sparkling water on demand without the hassle.

We offer free worldwide shipping on all or orders from €100

Our customer support team is available Monday till Sunday

Make use of our secure payment processing

